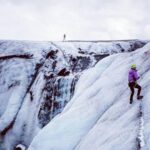
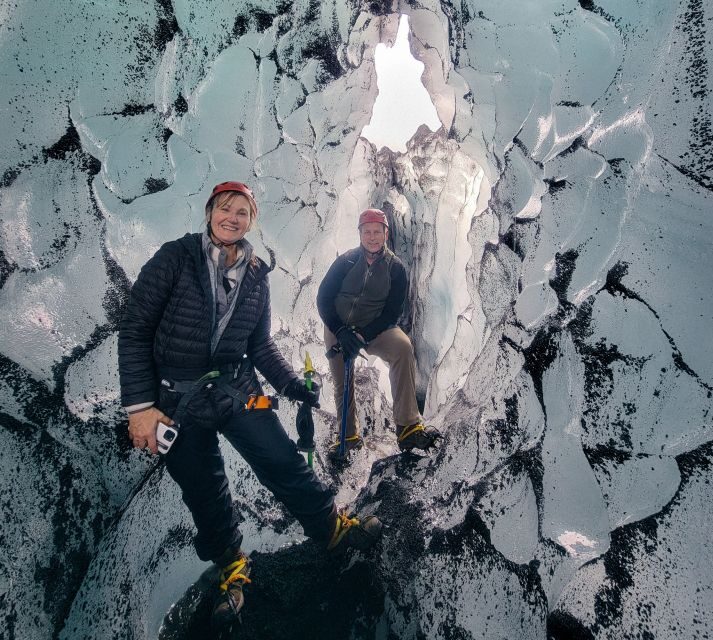
If you want Iceland to feel like a science-fiction set, do this. A guided walk on Sólheimajökull is non-technical, but it still feels wild—seracs, black-ash veins, and bright blue ice can look unreal. I especially love how the guides set you up quickly with proper gear (think harness, helmet, crampons, and ice ax) and how the route is paced so you can actually stop for photos. The best photo time isn’t rushed. One thing to plan for: you need hiking boots that fit glacier crampons—athletic sneakers may not work, and you may have to arrange boot rental.
What really makes this worth your time is the combination of “safe enough to enjoy” and “big natural drama.” You start at Solheimajökull’s base camp near the Ring Road, get briefed, then head out across the glacier surface with a guide who knows where the ice is stable. Guides I saw highlighted by name include Susanna, Önundur, Elias, Kamila, and Jesse, and the common thread is clear instruction plus calm confidence.
In This Review
- Why This Glacier Walk Feels Different (Even in Bad Weather)
- Key Things I’d Prioritize Before You Go
- Price and Time: Is $120 for 3 Hours a Good Deal?
- The Meeting Point Near Vik: Don’t Let Location Confusion Cut Your Time
- Gear-Up Moment: Crampons, Harness, Helmet, Ice Ax
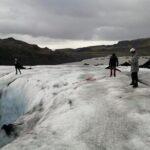
- Walking Out to Sólheimajökull’s Snowy Surface
- The Hike Itself: Non-Technical, But Still a Real Workout
- The Best Views: Higher Ground Means Bigger Payoff
- Glacier Water Stop: A Small Detail With Big Wow-Factor
- Learning on the Ice: How Glaciers Form (and Why Iceland’s Ice Matters)
- Photo Ops Without the Hassle
- Who This Tour Suits Best
- What Can Go Wrong (So You Can Adjust Fast)
- Should You Book Viking Glacier Hike on Sólheimajökull?
- FAQ
- How long is the glacier hike on Sólheimajökull?
- What’s the price per person?
- Do I need special shoes?
- What gear is included with the tour?
- Where do I meet the guide?
- Is the tour for kids or people with mobility needs?
Why This Glacier Walk Feels Different (Even in Bad Weather)
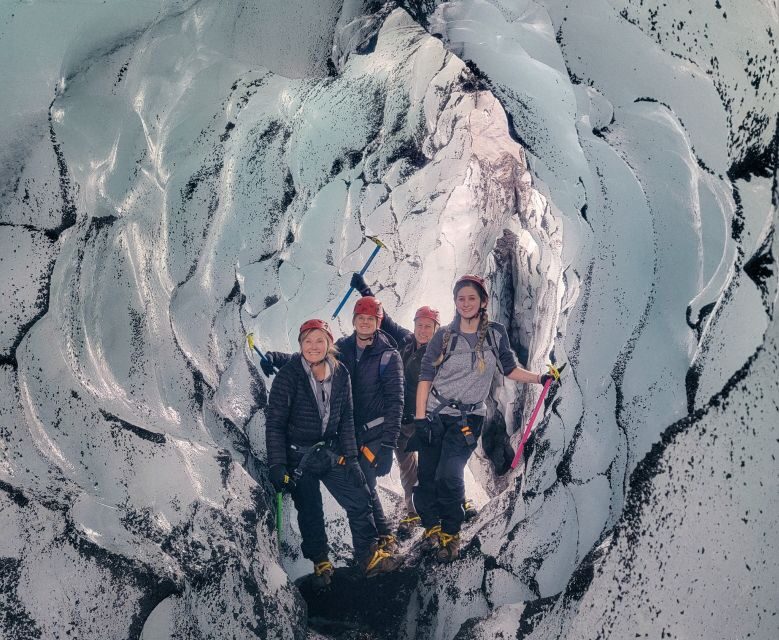
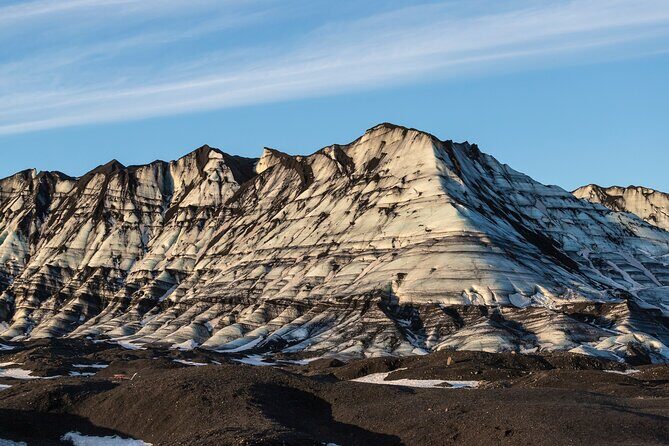
Solheimajökull is an outlet of Myrdalsjökull, one of Iceland’s largest ice caps. That matters because you’re not just walking on any frozen pile—you’re visiting a glacier system with visible layers and scars from past activity, including dark ash from eruptions. Even when the weather turns moody, the ice still reads like a map: white snow, black streaks, icy walls, and deep features that look close enough to touch.
This is also one of those tours where “adventure” isn’t code for confusion. The gear and safety briefing are part of the experience, not an annoying prelude. Once you’re moving, you’ll feel the adrenaline—but you’ll also understand what you’re looking at, why it’s changing, and what keeps it safer for everyone.
Key Things I’d Prioritize Before You Go
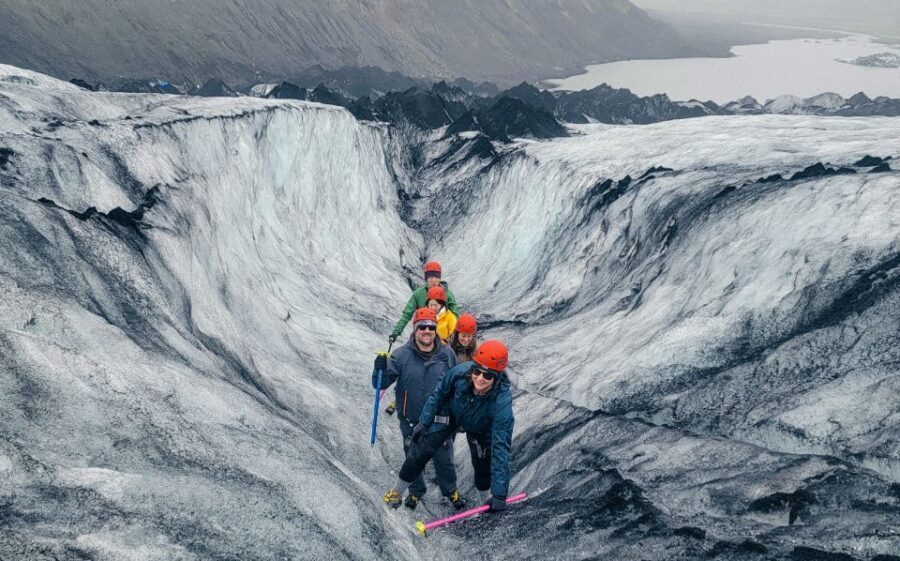
- Boot fit matters: Hiking boots are required so crampons sit correctly; sneakers may not work.
- Gear is provided: Harness, helmet, crampons, and an ice ax are part of the tour package.
- You’ll learn glacier basics as you walk: Formation and glacier behavior are explained during the hike.
- Photo stops are built in: The route is designed for you to capture the ice features.
- Fresh meltwater is an option: You can refill your bottle in pure freshwater streams as it melts.
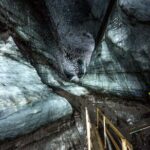
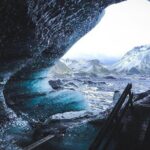
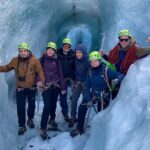
- Ice caves can happen: Some hikes include time near or into ice caves/underground passages.
You can also read our reviews of more guided tours in Vik
Price and Time: Is $120 for 3 Hours a Good Deal?
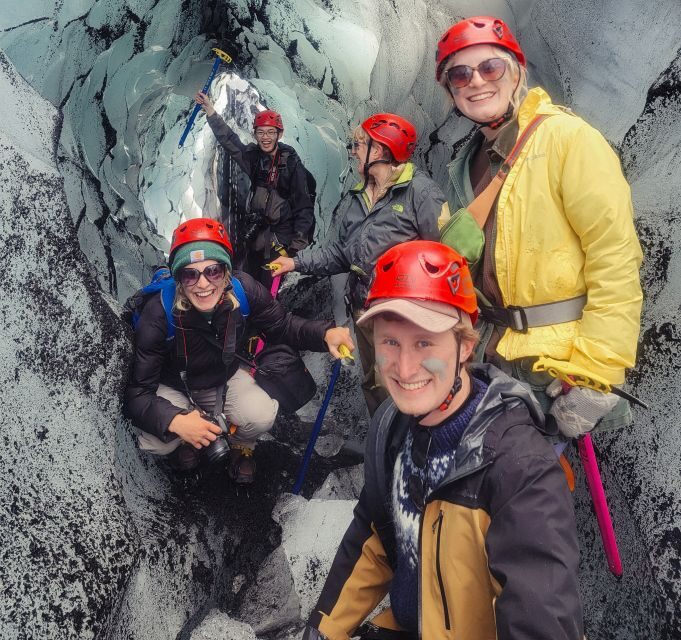
At $120 per person for about 3 hours, the value comes from what’s included. You’re paying for a trained guide, plus safety-critical equipment you likely won’t want to hunt down or rent elsewhere (harness, crampons, helmet, ice ax). And you’re buying access to an ice surface you can’t safely reach or navigate on your own.
For many people, the cost feels steep—until you remember the alternative. Going solo usually means either no crampons, no training, and no route knowledge, or you’d have to find and manage all of that yourself. Here, you show up, get dressed, get briefed, and then spend your time on the ice instead of logistics.
The hike is non-technical, but it’s still glacier walking. That sweet spot is exactly why this kind of guided tour is worth the money: you get the “top of the world” feeling without turning it into a technical climbing day.
The Meeting Point Near Vik: Don’t Let Location Confusion Cut Your Time
Your start is the Solheimajökull Glacier parking lot, about 20 m off Ring Road (Highway 1) near Vik. Your guide has a David the Guide logo on their gear.
Arrive at least 20 minutes early. That buffer matters because you’ll want time for the group to gather, check boots, and get the explanation of what you’ll use and how you’ll move. There have been cases of confusion about where exactly to meet (main car park vs. a specific point), so your best move is to show up early and look for the logo gear before you wander too far.
Gear-Up Moment: Crampons, Harness, Helmet, Ice Ax
Once everyone’s together, your guide meets you at base camp and helps you dress for the glacier. You can expect:
- A harness
- A helmet
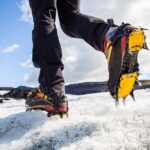
- Crampons
- An ice ax
- A route and equipment briefing before you step onto the ice
This part is genuinely useful. On glacier terrain, the “right” gear isn’t optional—it’s what turns an intimidating surface into a manageable one. The tour also highlights a practical truth: hiking boots are required because they need to fit crampons properly. If you only have athletic sneakers, you may be able to arrange boot rental, but you should contact the provider ahead of time.
If you’re the type who likes to know how things work, lean into the briefing. Guides often explain how to use your equipment and how the group will move. That makes you feel more in control the moment you’re on the snow.
Walking Out to Sólheimajökull’s Snowy Surface
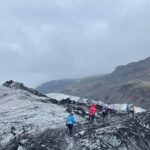
After the gear check, you’ll head out past the base area and around a murky glacier lagoon toward Sólheimajökull’s snowy surface. That lagoon approach gives you a visual warm-up: the ice shows off textures and colors before you’re fully committed to the hike.
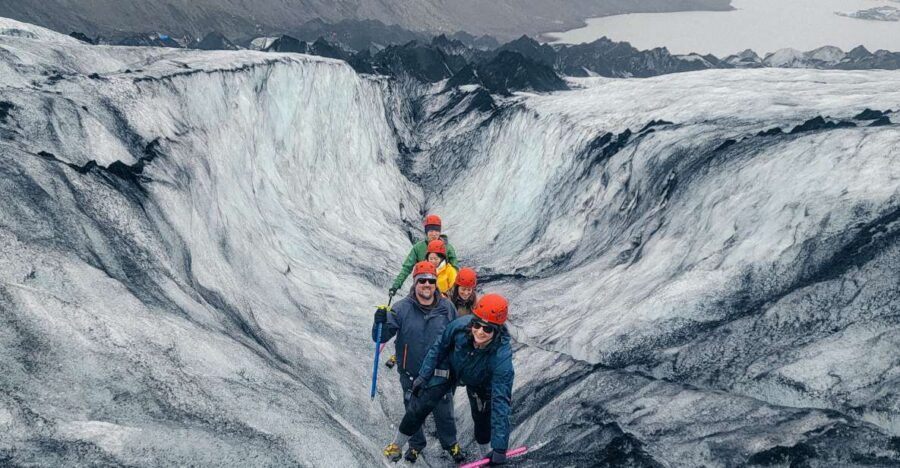
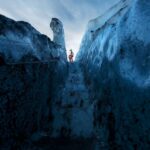
Then the real magic starts—colors. The ice can look white, but it’s often veined with black ash from past eruptions. You’ll also see striking blues when the light hits exposed ice. It’s the kind of scenery that makes you stop without meaning to.
You can also read our reviews of more hiking tours in Vik
The Hike Itself: Non-Technical, But Still a Real Workout
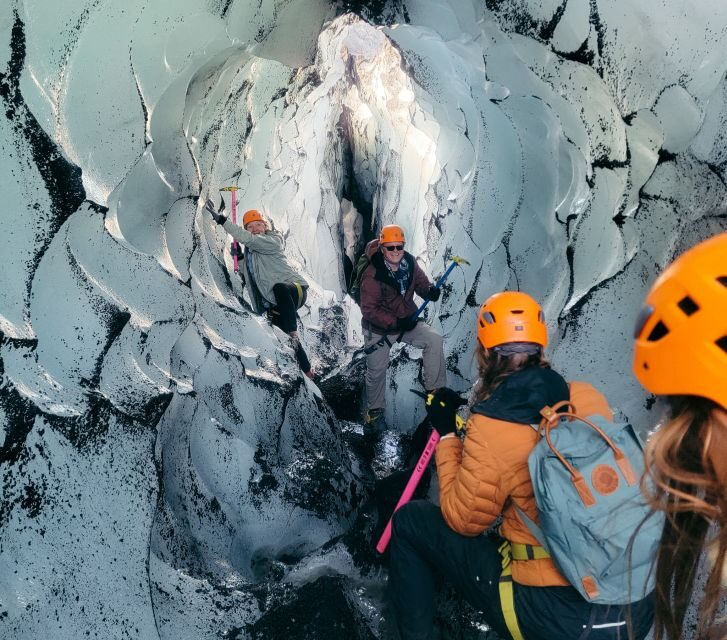
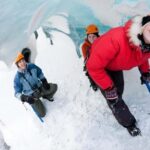
The tour is designed as a non-technical glacier hike, meaning it’s accessible for people who can hike on uneven ground and handle cold conditions. You still move on crampons, and you still climb and traverse. That’s why it’s often described as adrenaline pumping, not stroller-casual.
Pace and attention matter here. Many guides are praised for being calm and patient, and for keeping everyone moving at a firm but comfortable rate. If you have a slower pace or a small discomfort (one guest mentioned knee pain), the better guides will adjust how they help—whether that’s encouragement, a steady pace, or a helping hand on the way down.
You can also expect the guide to keep you aware of safety basics: where to place your feet, how to move as a group, and how to handle short stops for photos. It’s not about fear—it’s about smooth teamwork on ice.
The Best Views: Higher Ground Means Bigger Payoff
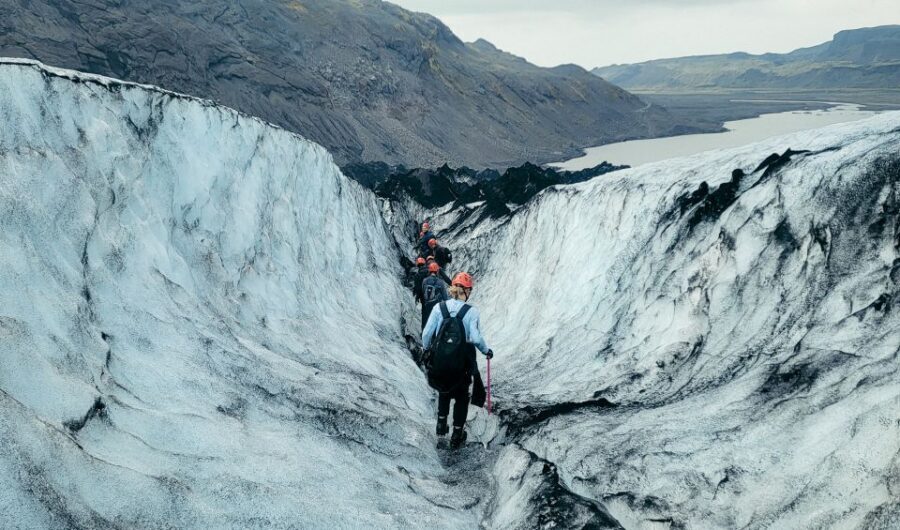
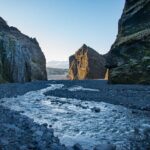
As you ascend, the views open up fast. On clearer days, you can look over dramatic mountains, the Westman Islands, the black sands of the South Coast, and lava terrains that look like another planet.
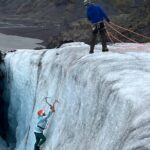
Even if visibility is limited, you still get value. Glacier walking is full of close-up detail—icicles, ice walls, and deep crevasse-like formations (you’ll see them as features you’re near, not as something you need to approach aggressively). The photos often come from multiple angles: wide shots that show the glacier scale, and close shots that show texture and color.
Glacier Water Stop: A Small Detail With Big Wow-Factor
One of the tour highlights is the chance to drink or refresh with glacier water. The hike includes time where you can refill your water bottle in pure freshwater streams formed as the ice melts.
This is one of those “small” moments that changes how you remember the day. It ties the scenery to something practical: the glacier is actively transforming, and you’re seeing that process up close. Just treat it as a bonus—bring your bottle, but don’t rely on it as your only hydration strategy.
Learning on the Ice: How Glaciers Form (and Why Iceland’s Ice Matters)
A good glacier guide doesn’t just point at ice. You should expect explanations about how glaciers form and why Iceland is famous for them. On this hike, your guide should also talk about glacier dangers and how you can help protect them.
That context is part of the experience value. It makes the features you’re seeing feel less random. Instead of standing in awe, you understand what’s happening—how ice moves, why surfaces change, and why safety practices exist. That turns a memorable photo day into something that sticks in your brain for months.
Photo Ops Without the Hassle
Photo time is built into the route, and guides are often praised for taking the group’s pictures at the best spots. If the glacier is quiet (some days feel less crowded on the ice), the experience gets even better because you’re not constantly dodging other tour groups.
What I’d do: wear warm layers you can handle when you stop. A few minutes of standing still on ice can feel colder than walking, even in decent weather. If you’re already dressed for cold, your photos get better because you’re comfortable enough to pause.
Who This Tour Suits Best
This is a strong fit if you want:
- A guided glacier experience with safety gear included
- A non-technical glacier walk that’s still exciting
- A mix of scenery, photos, and glacier education
It’s not suitable for children under 8, pregnant women, or people with mobility impairments. If you’re unsure about your fitness level, treat this as a hike on crampons and uneven icy ground—plan to move steadily and keep warm.
What Can Go Wrong (So You Can Adjust Fast)
Glacier hiking is weather-dependent, and Iceland weather can be rude. If it’s raining, expect the cold to feel sharper and ground conditions to be slick. One practical tip: bring waterproof outerwear and warm layers. If you have the option, a spare set of dry clothing can be a relief after the hike—especially if your first layer gets wet.
The other common snag is meeting-point confusion. If you arrive late or don’t spot your guide’s gear logo, you may waste time before you even start. The fix is simple: show up early and look for the David the Guide logo.
Should You Book Viking Glacier Hike on Sólheimajökull?
Yes, if you want the classic Iceland “walk on a glacier” experience with real safety support. This tour is short, structured, and gear-heavy, which means you get maximum ice time without spending your day figuring out crampons. At $120 for 3 hours, it’s not cheap, but the included equipment and trained guide make it feel fair for what you’re doing.
I’d book it if:
- You’re comfortable walking for a few hours and staying warm
- You want strong photo opportunities plus glacier education
- You want to drink glacier meltwater and get close to ice features you can’t reach safely alone
I’d think twice if:
- You only have sneakers and don’t want to deal with boot rental
- You’re looking for a gentle stroll rather than glacier hiking on crampons
- Your mobility or health situation makes the “walking on ice” part unrealistic
If you’re ready for cold, dramatic ice, and a guide who keeps things calm and safe, this is one of the most memorable days you can build around South Iceland.
FAQ
How long is the glacier hike on Sólheimajökull?
The tour duration is 3 hours.
What’s the price per person?
The price is $120 per person.
Do I need special shoes?
Yes. Hiking boots are required so they fit crampons. Athletic sneakers may not work. If you don’t have boots, you may need to contact the provider about boot rental.
What gear is included with the tour?
You’ll be provided with safety equipment including a harness, helmet, crampons, and an ice ax.
Where do I meet the guide?
Meet in the Solheimajökull Glacier parking lot, about 20 m off Ring Road (Highway 1) near Vik. Your guide has the David the Guide logo on their gear.
Is the tour for kids or people with mobility needs?
It’s not suitable for children under 8, pregnant women, or people with mobility impairments. The tour is guided in English.